1. Pick Your Wall (Any Wall)
Hallway, above the couch, awkward blank space by the stairs—if it’s a flat surface, it’s fair game.
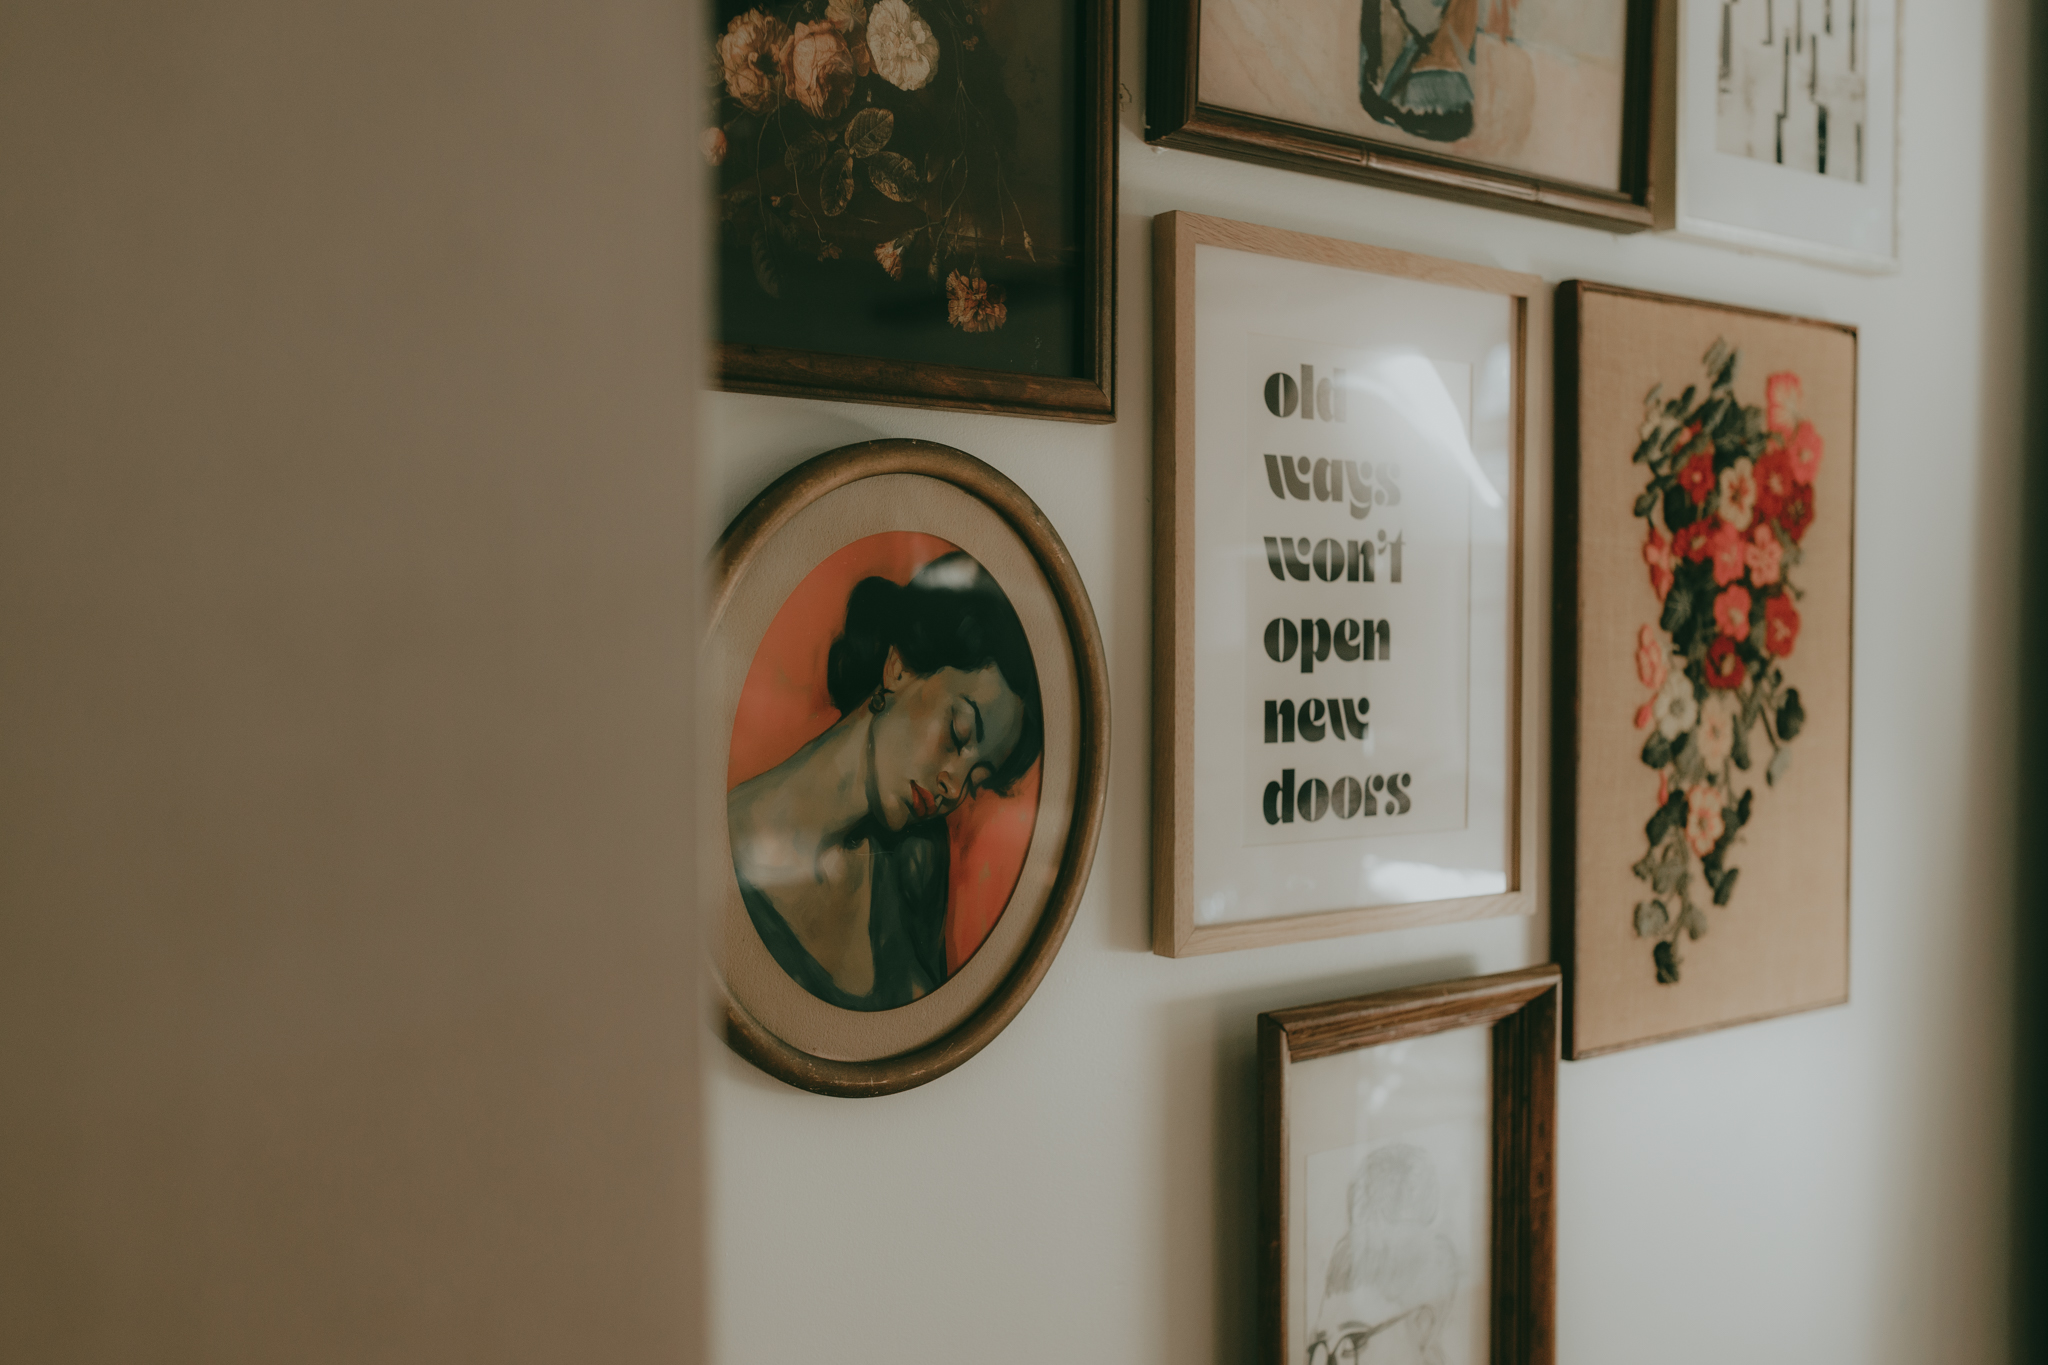
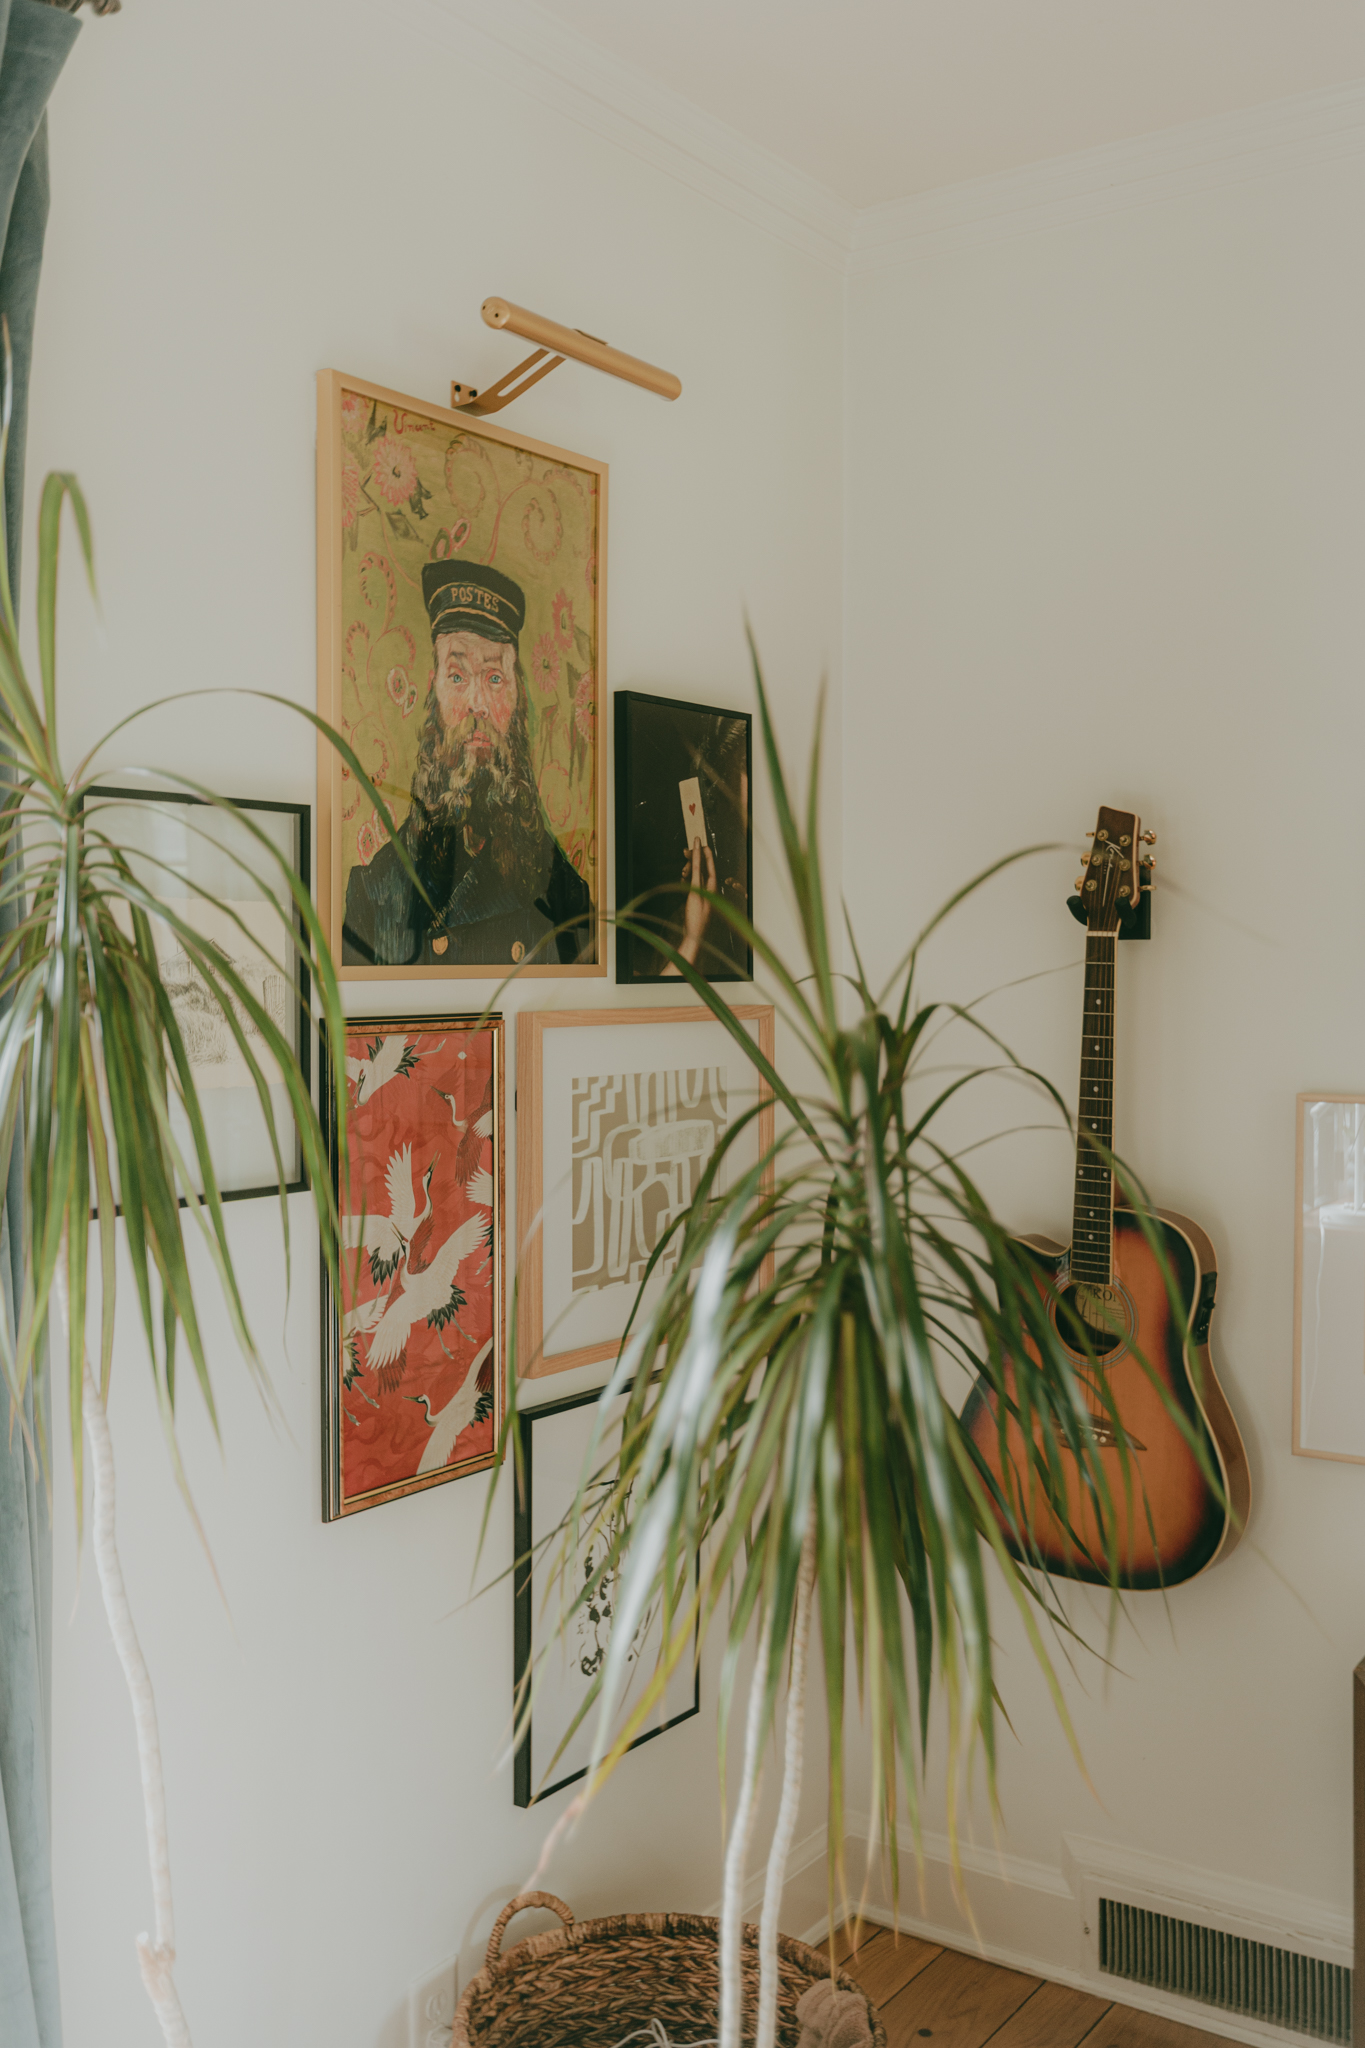
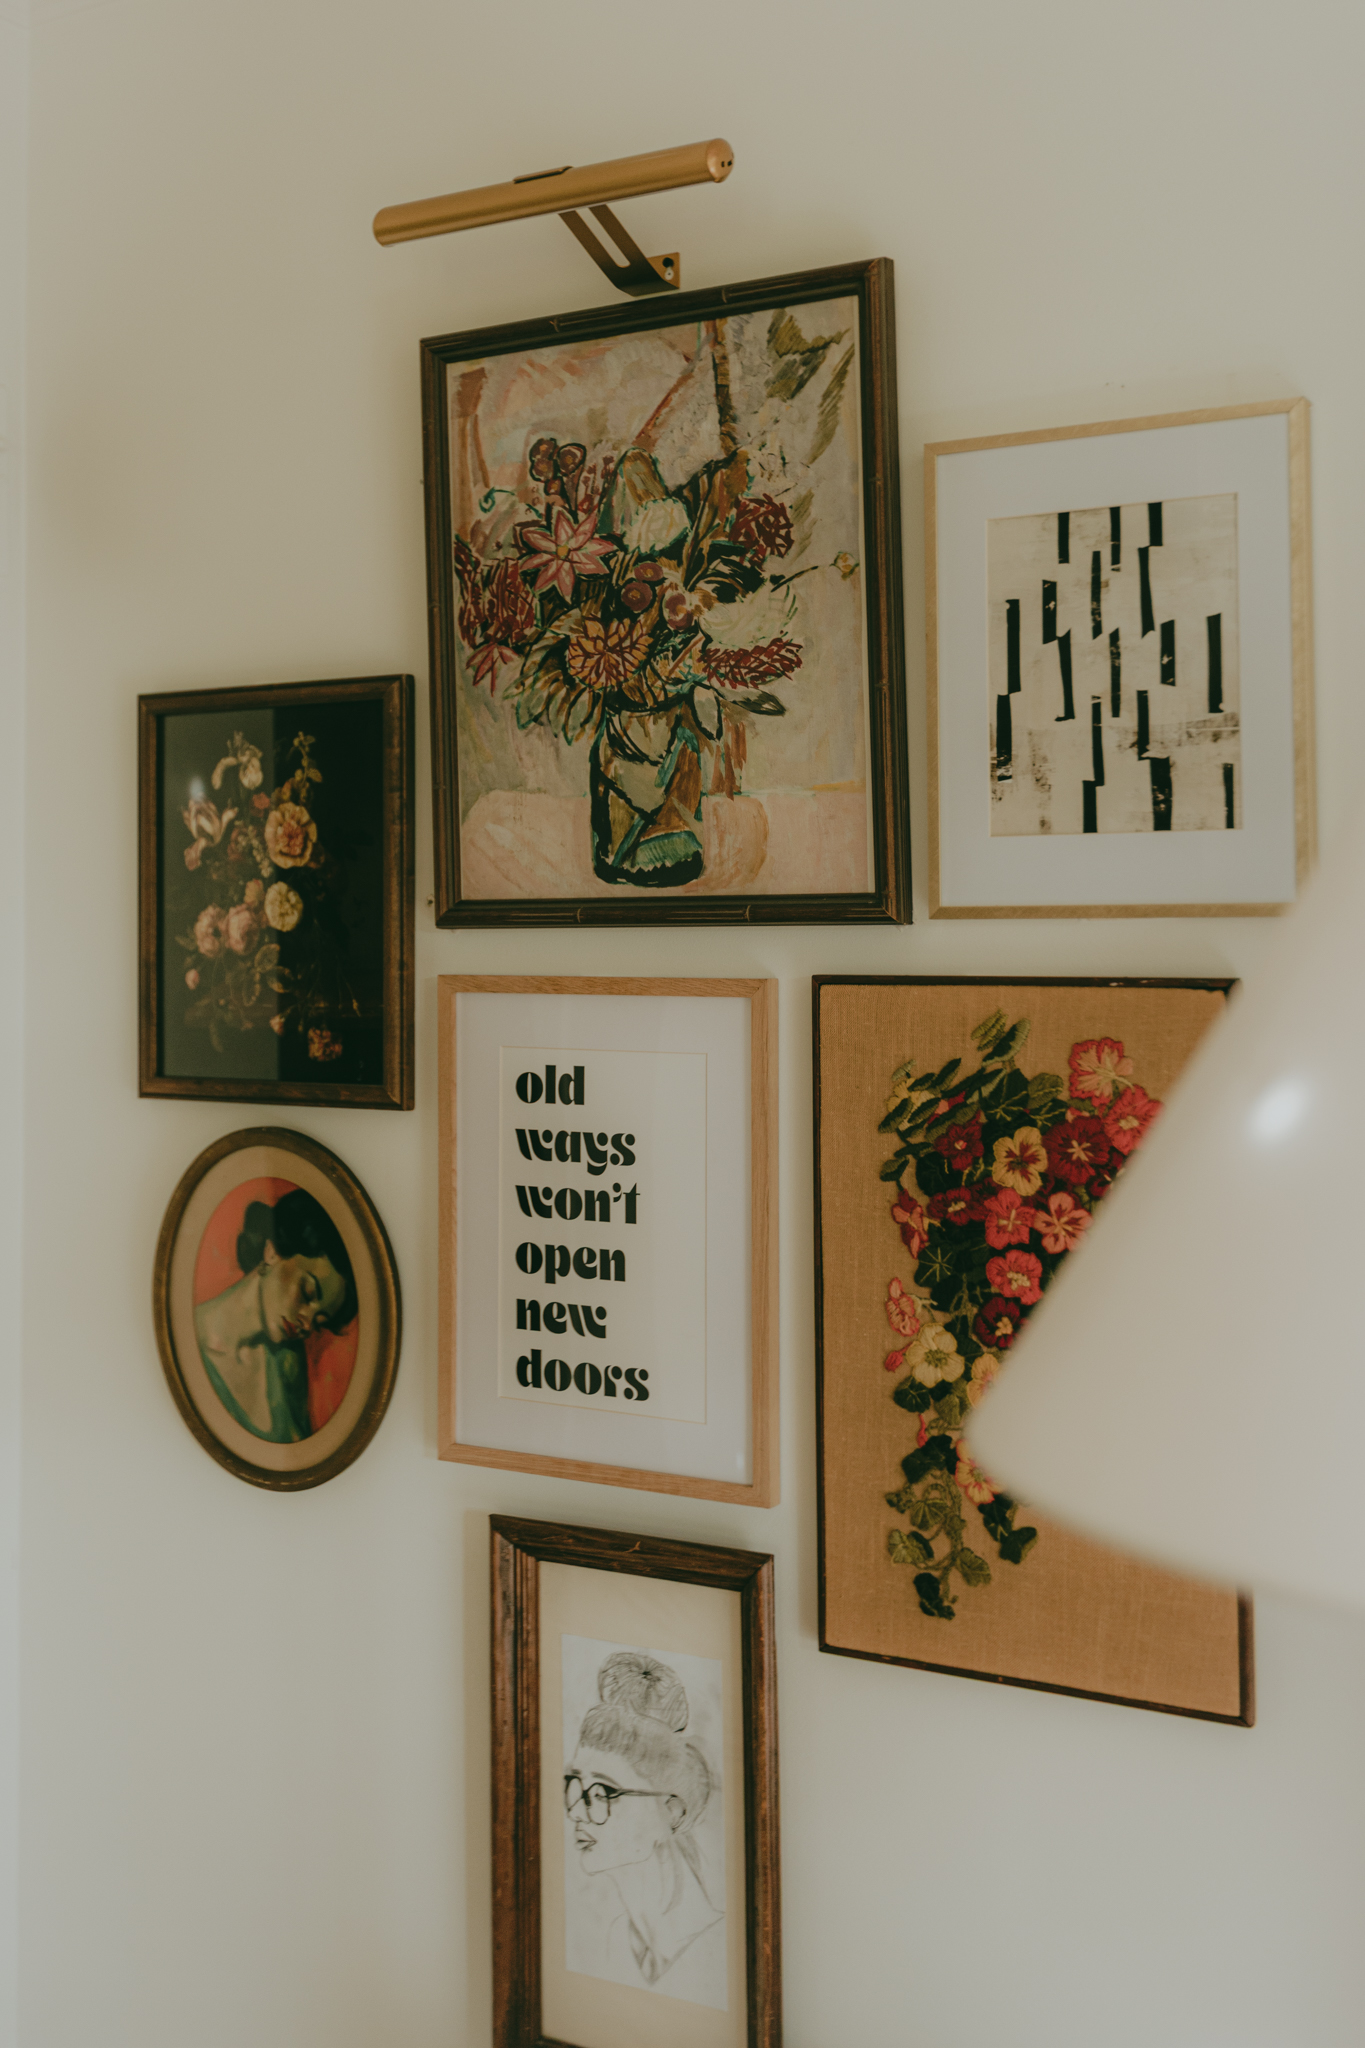
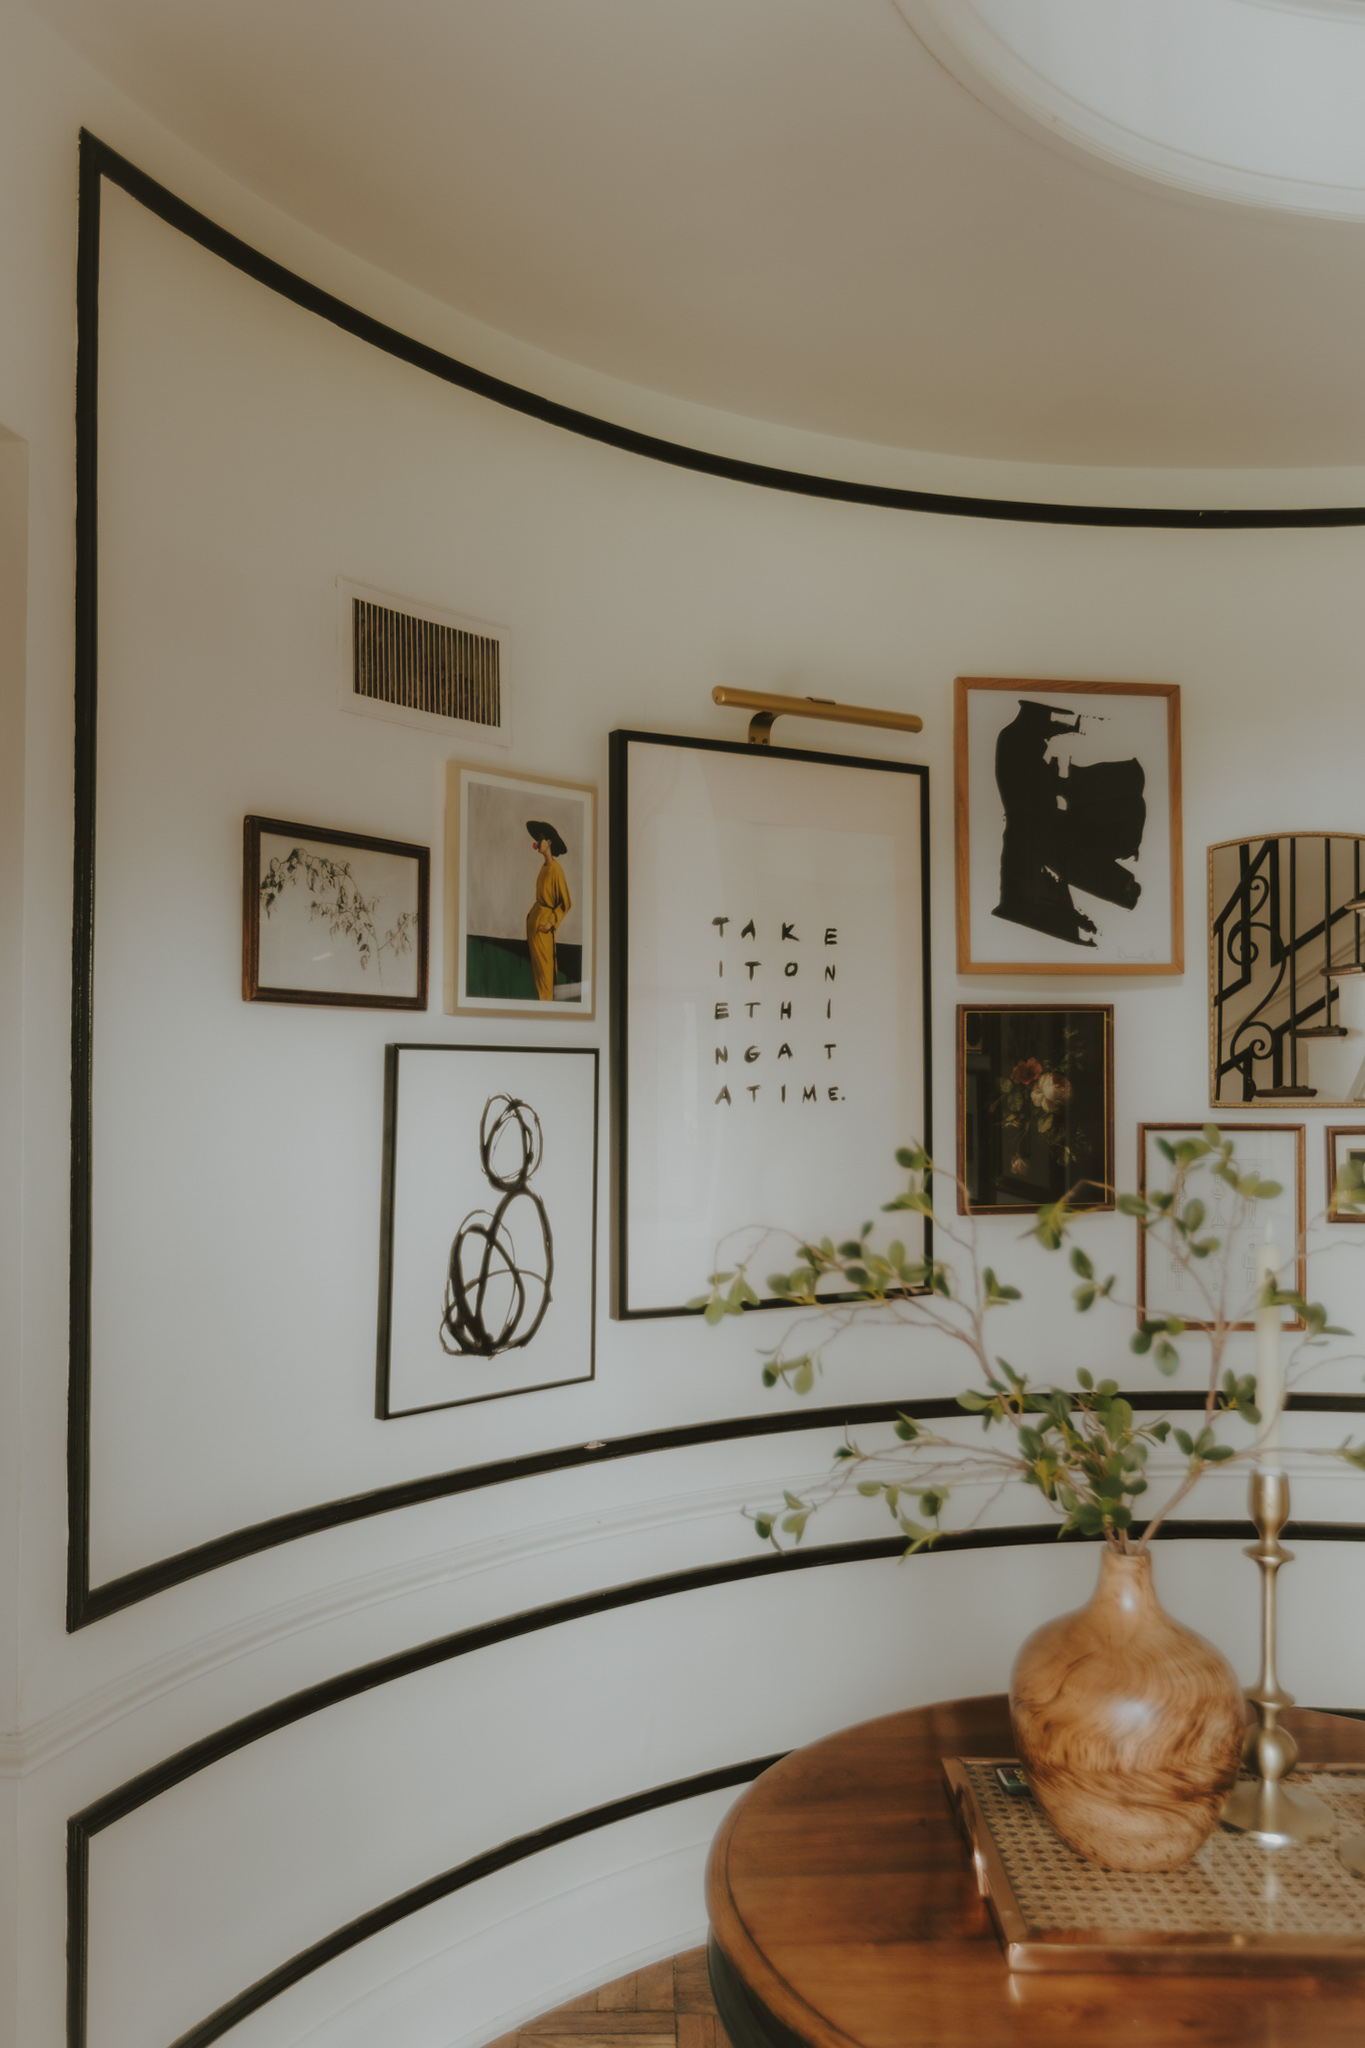
2. Gather Your Art
This can include:
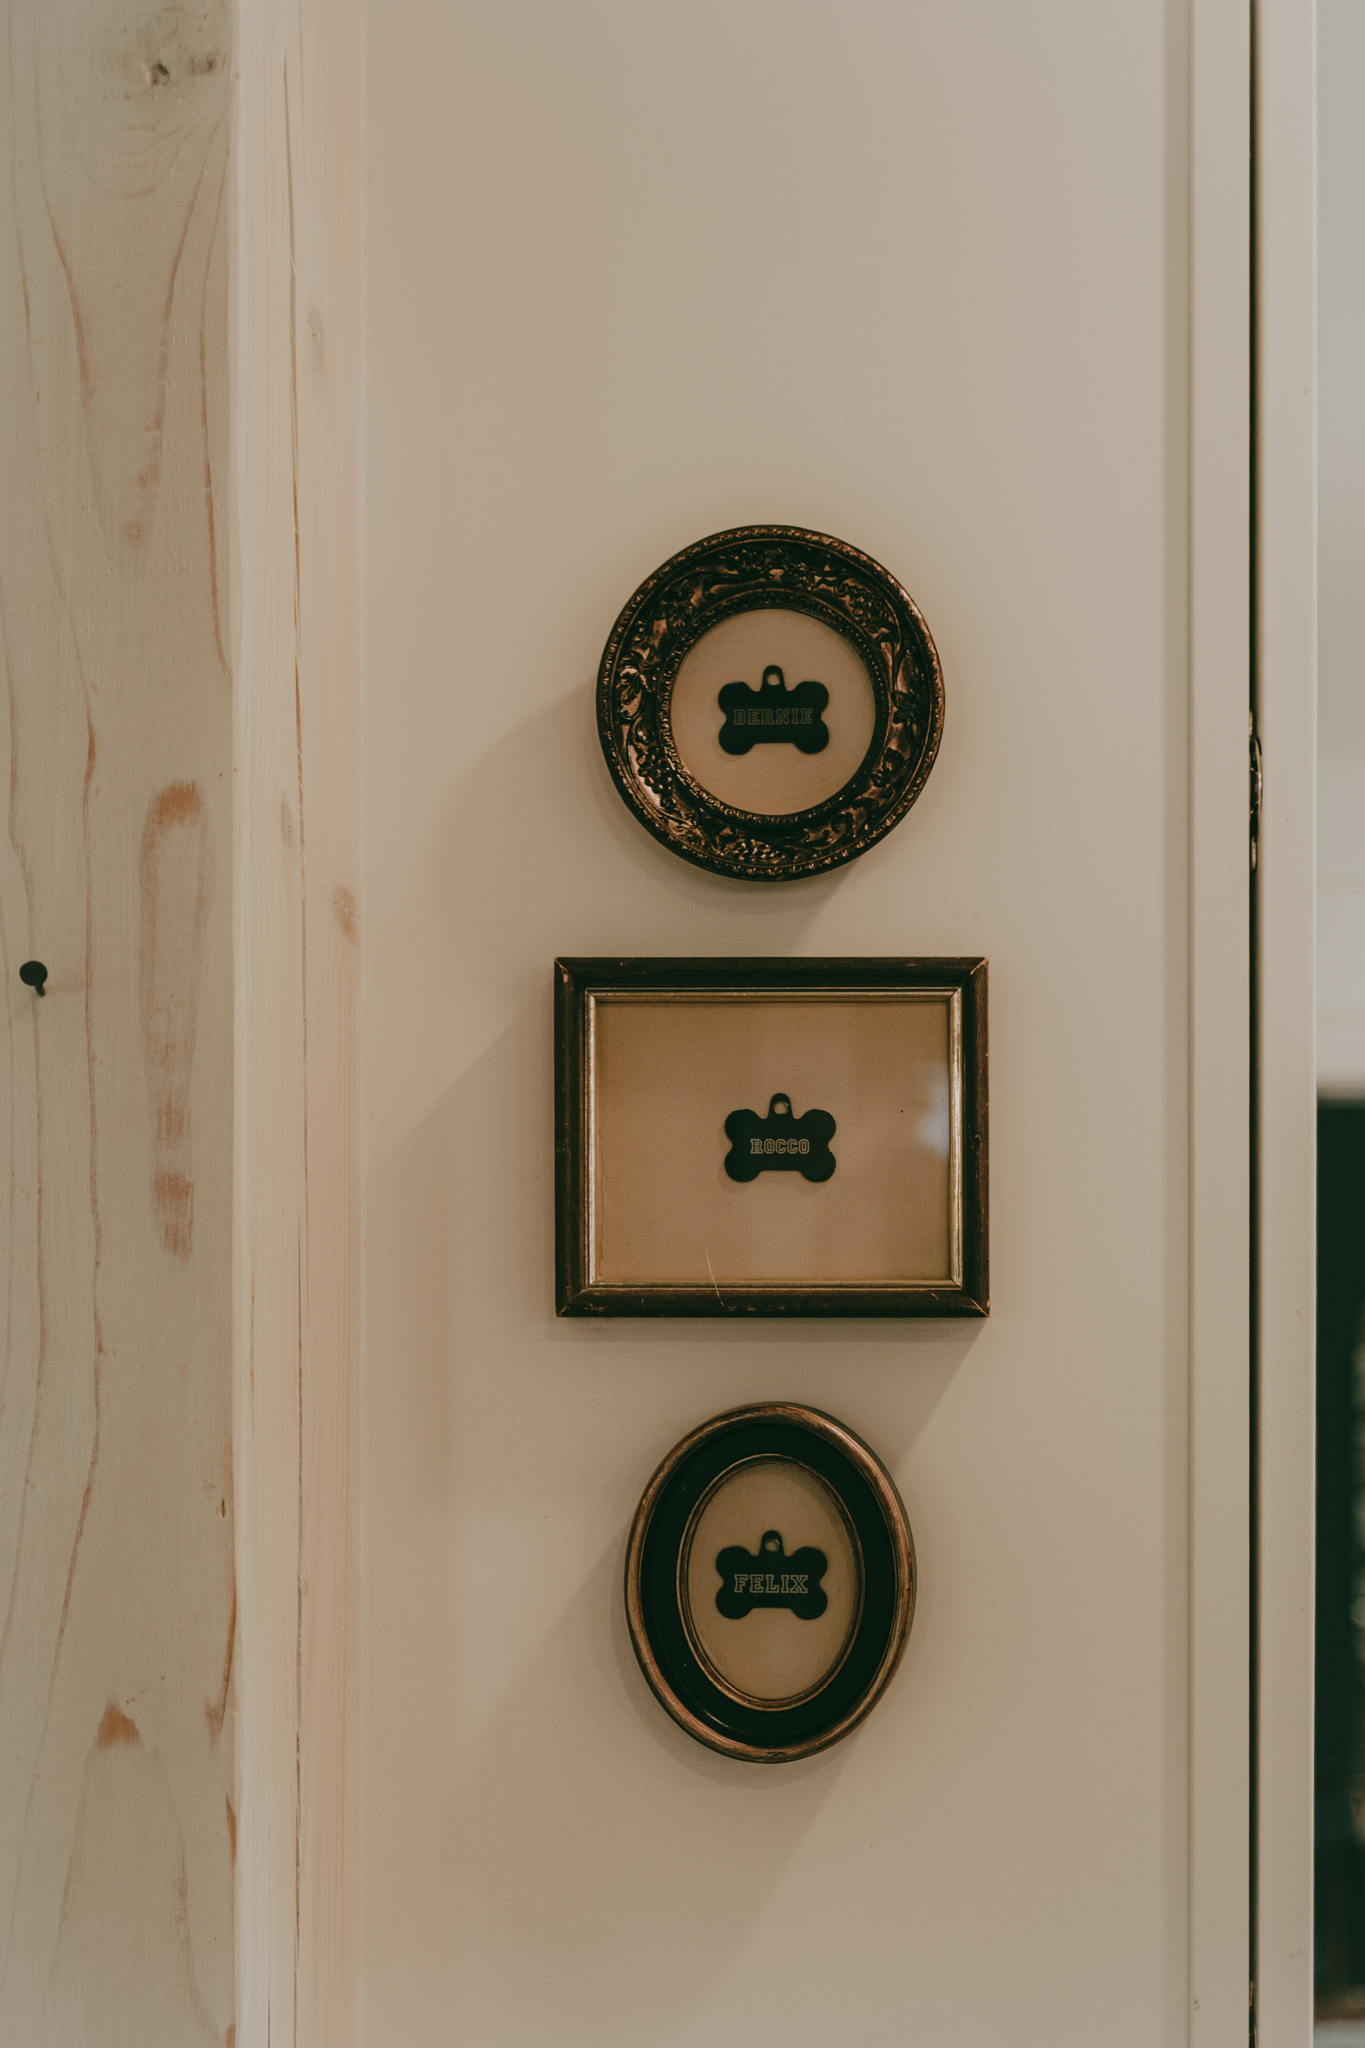
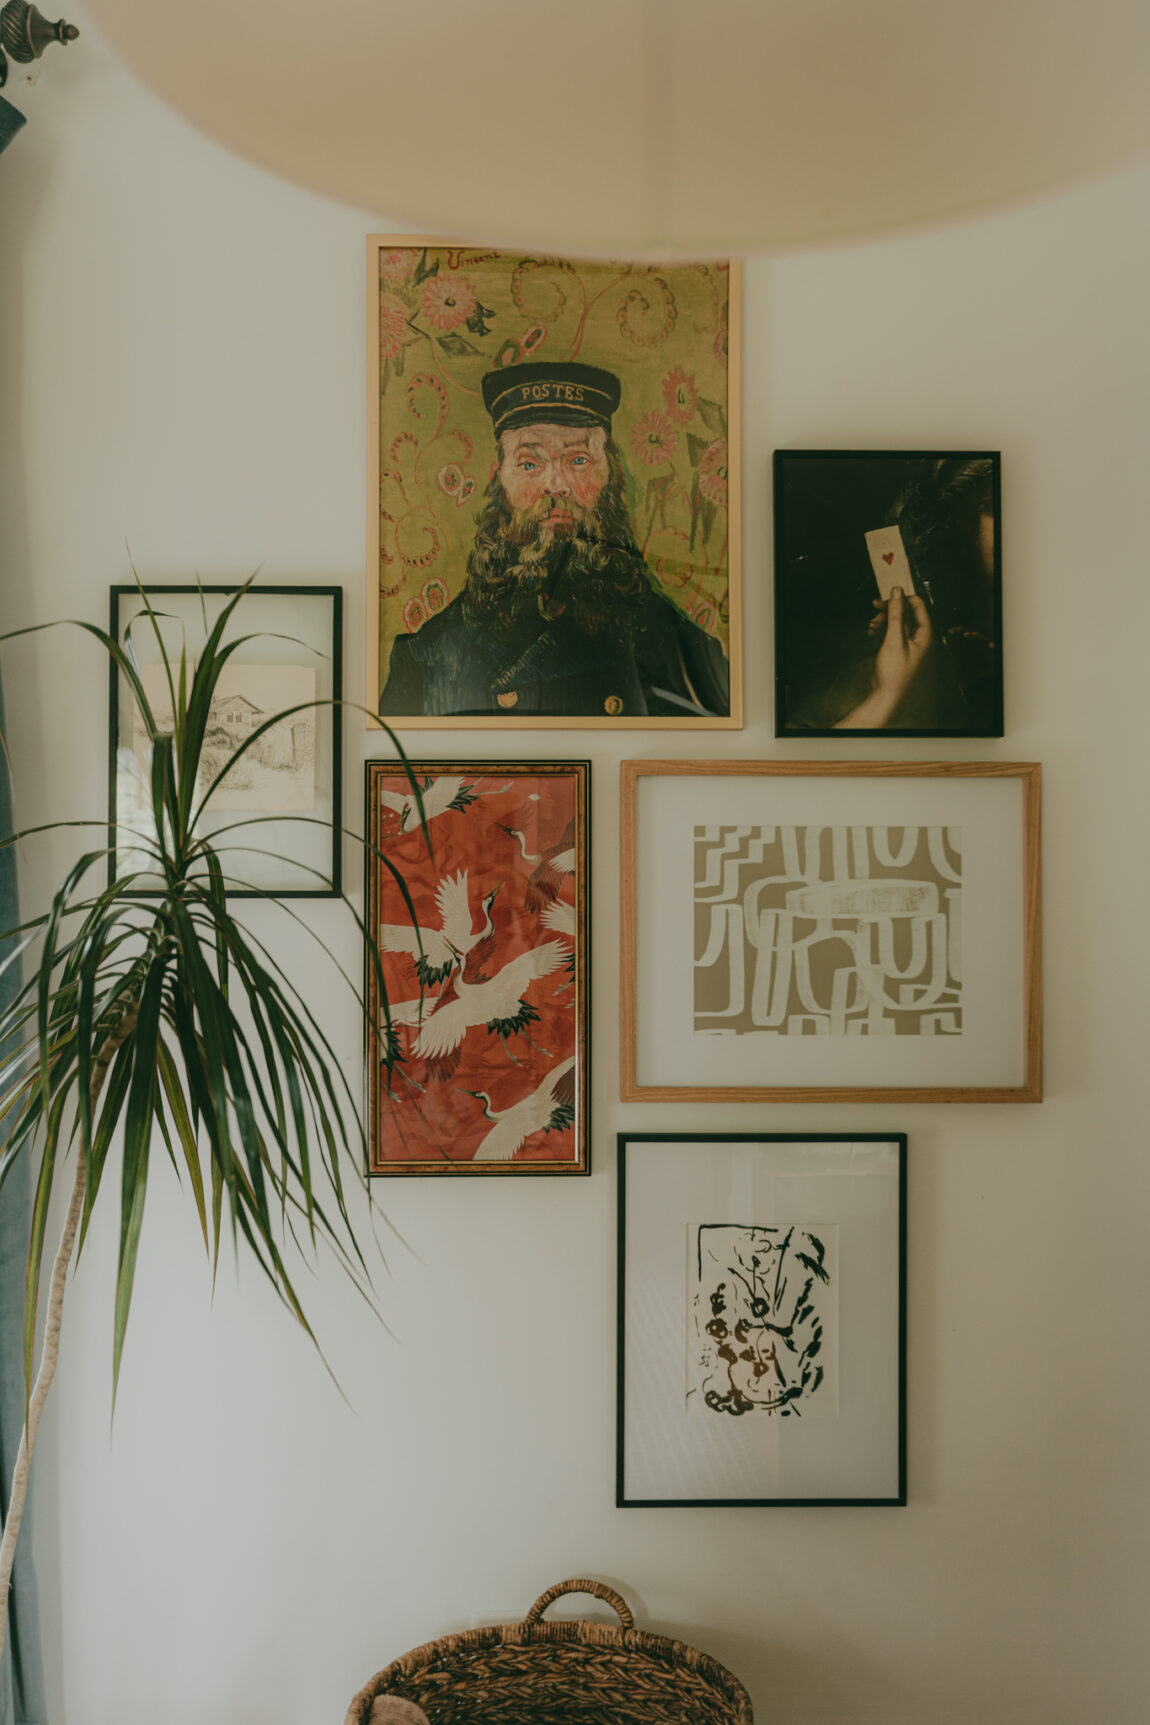
- Kid drawings (the weirder, the better)
- Grandma’s vintage photos
- Disco ball reflections, if printable
- Quotes that make you laugh
- A piece you thrifted and can’t explain but love deeply
This is your wall, not a museum.
3. Lay It Out First (on the floor)
Arrange everything on the floor in front of the wall. Play with spacing, shape, balance. Pro tip: Snap a quick photo—it’s easier to see if something’s off in a pic than IRL.
4. Use Paper Templates (Optional, but Highly Recommended for Control Freaks)
Trace each frame onto kraft paper or newspaper, cut it out, and tape it to the wall. It’s like gallery wall dress rehearsal.
5. Start in the Center and Work Out
Or don’t. But generally, starting from a middle anchor piece and working outwards helps avoid awkward gaps. Unless awkward gaps are your thing.
6. Use the Right Tools
Command strips. Picture-hanging hooks. A level (or your phone’s leveling tool if you’re fancy like that). No shame in marking with painter’s tape or measuring twelve times before hammering once.
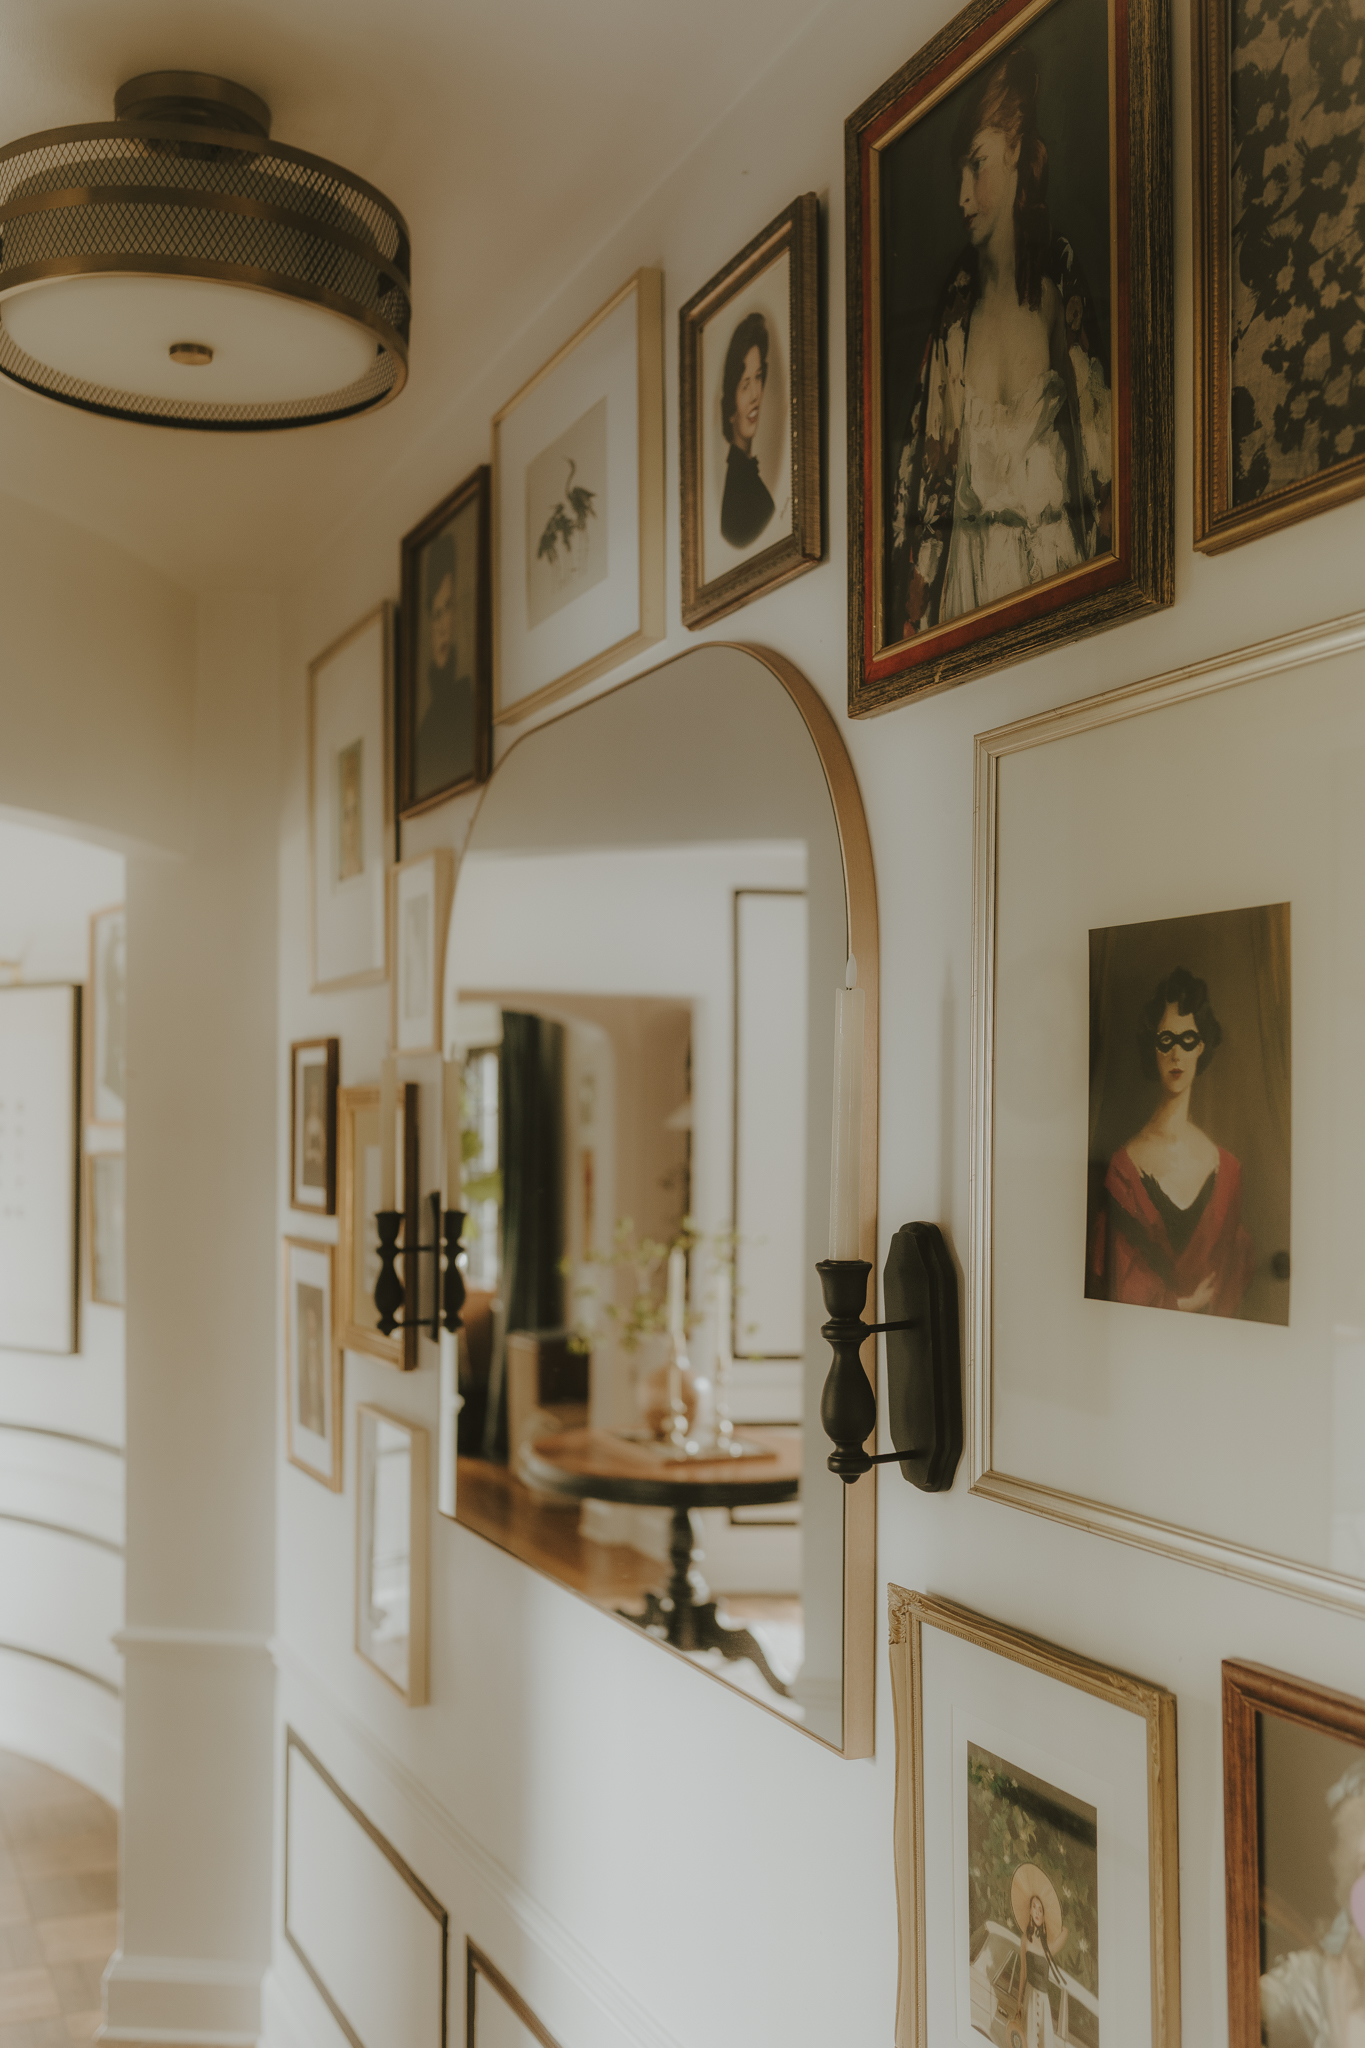
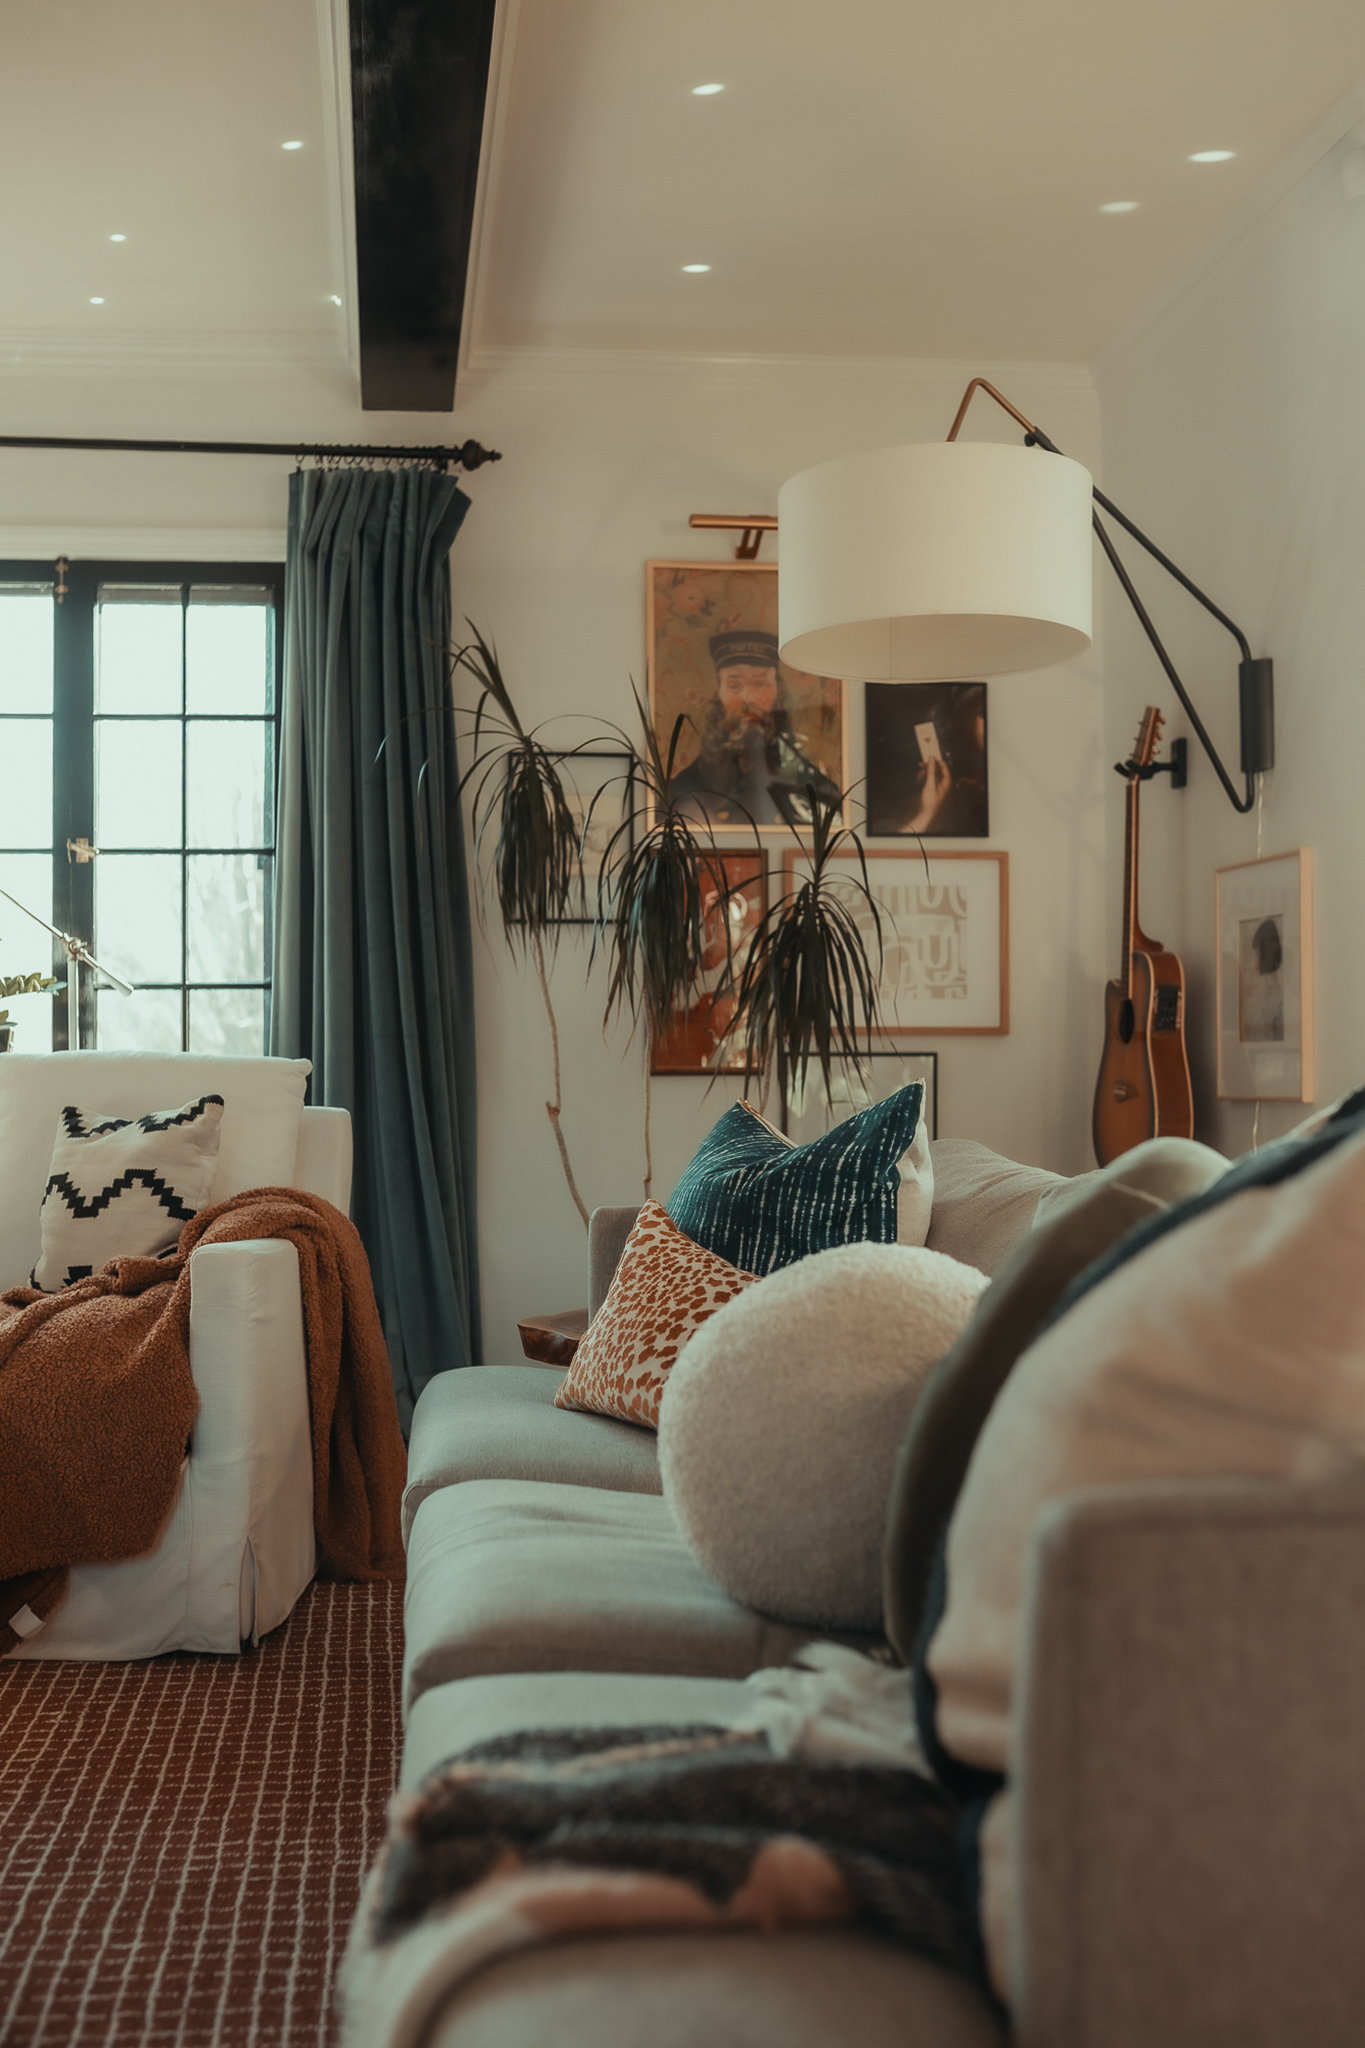
7. Mix Up the Sizes, Textures, and Shapes
Flat art + canvas + small objects? Love it. All matching black frames? Also fine. Just give the eye something to dance around on.
8. Give Yourself Permission to Rehang Something Later
It’s not permanent. You can change it. That’s the beauty of a home that evolves. (Also, you might hang something slightly crooked, and that’s okay. Adds charm.)